Information on this page is for customers in
{{ town-name }}
Outage Map Help
Search
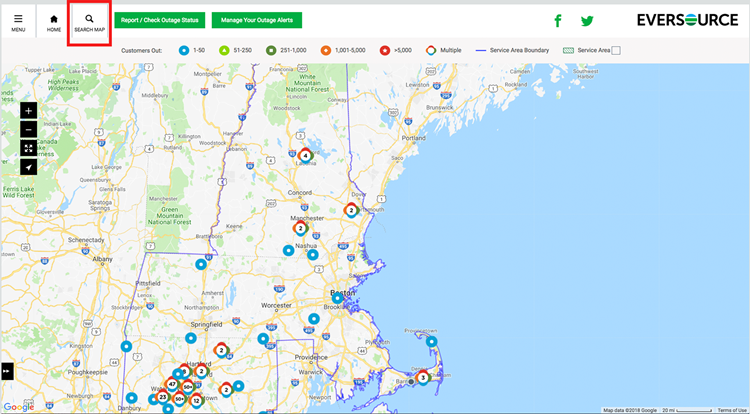
You can search for an address to show its location on the map. To search, click or tap the search icon (magnifying glass) at the top of the map, type the address into the search bar, and press Enter.
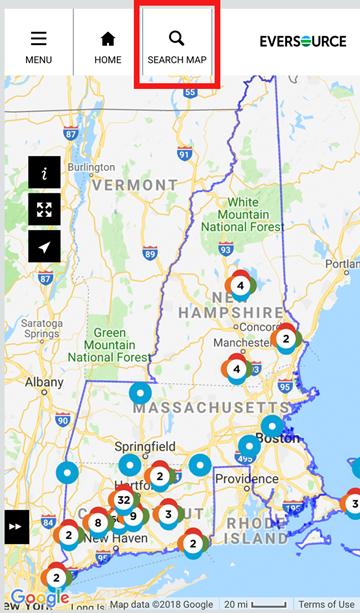
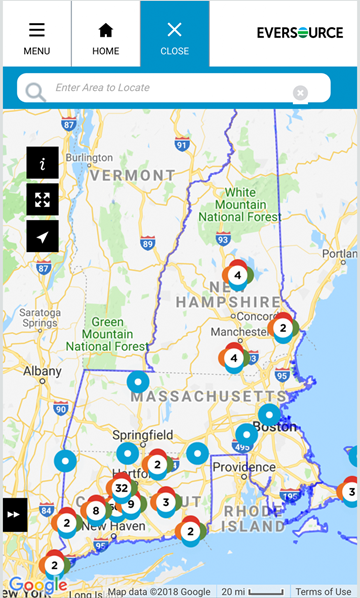
Note: Colors and/or icons may vary from those shown here.

Outage Details - Info Panel
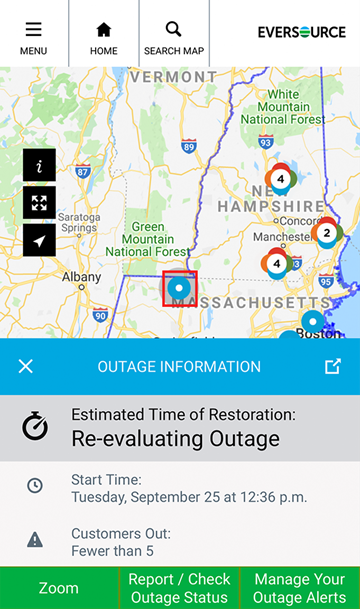
For location about an outage location, click or tap on the individual "outage icon" or "outage cluster" to open the info panel. If you are viewing the map by area, click or tap on an individual area to open the info panel.
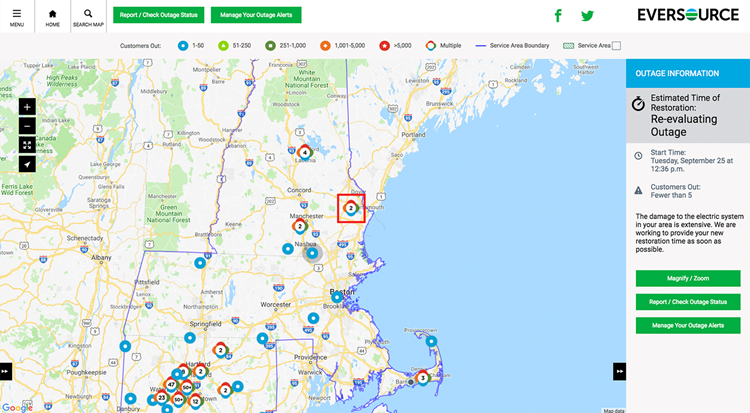
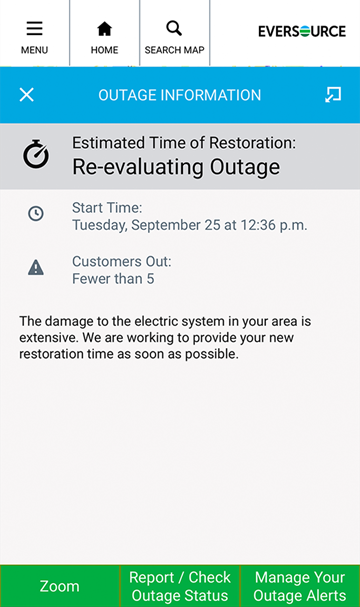
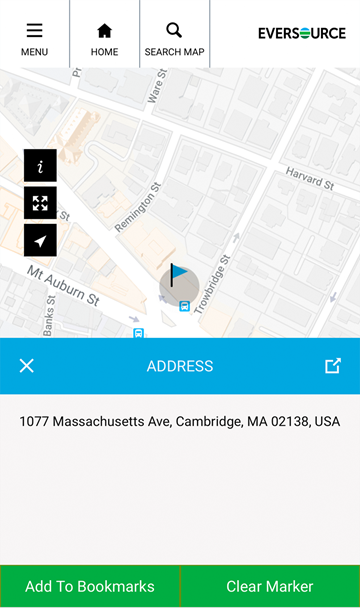
On mobile devices, the info panel opens from the bottom of the map. You can tap the icon at the upper right side of the info panel to show more information.
Legend - Understanding the Map
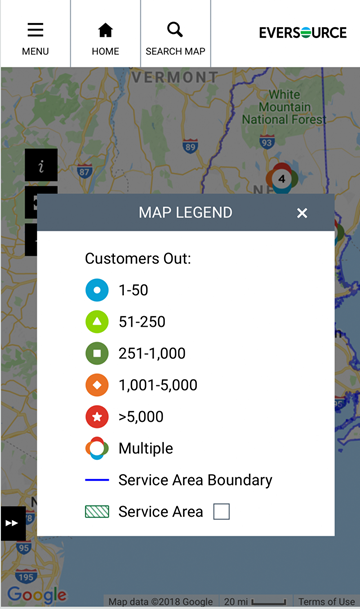
On mobile devices, the legend appears if you tap the legend icon at the upper left side of the map below the map header. On desktop devices, the legend appears at the top of the map below the map header.

Tool Panel
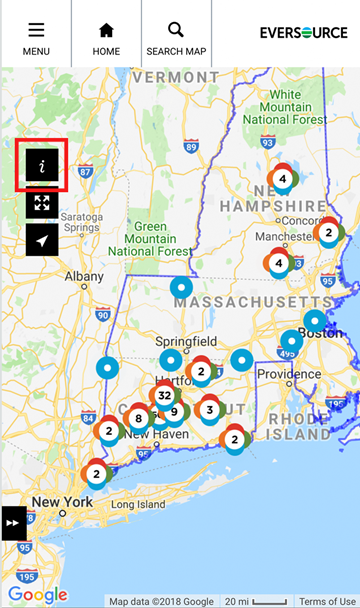
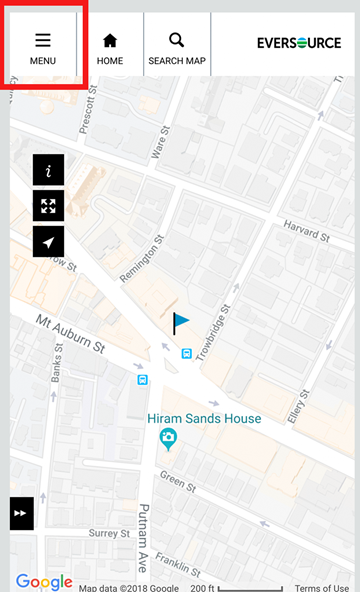
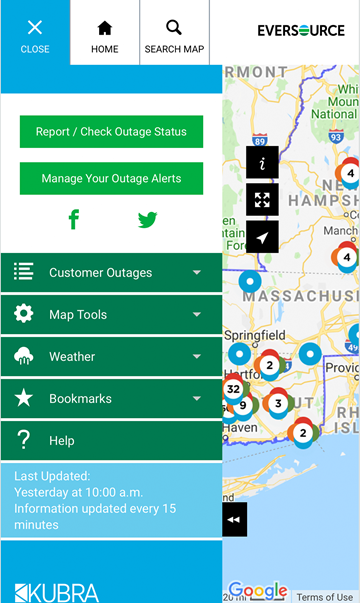
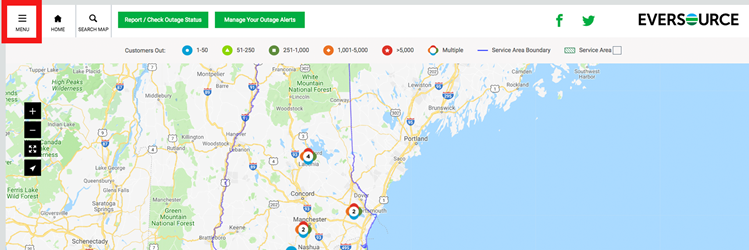
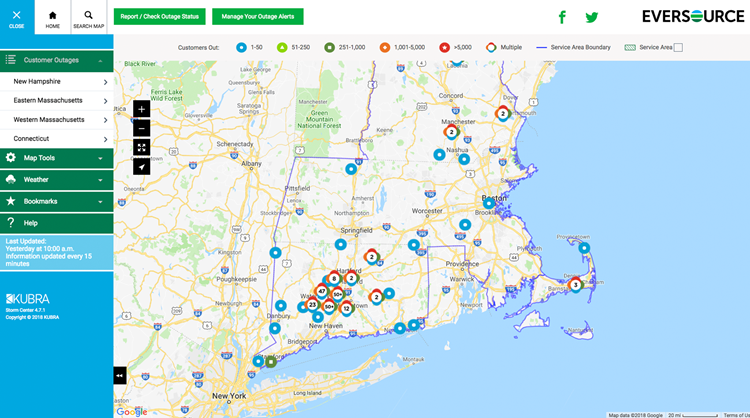
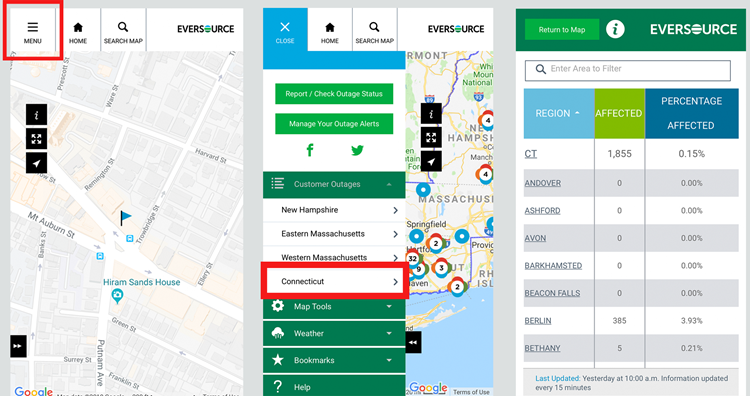
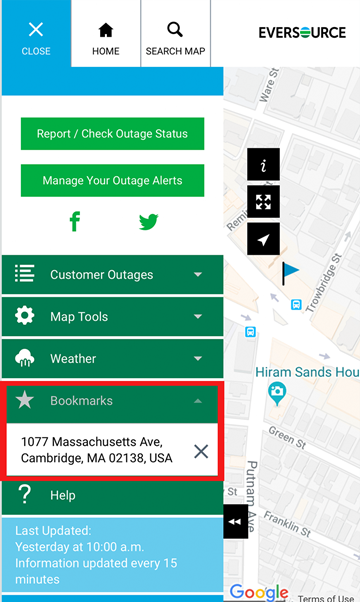
To open the tool panel, click or tap the icon at the upper left corner of the map. The tool panel contains summary outage information, map tools, and a tool for saving map views. If may also include tools for showing weather information or custom layers on the map.
Summary Outage Information
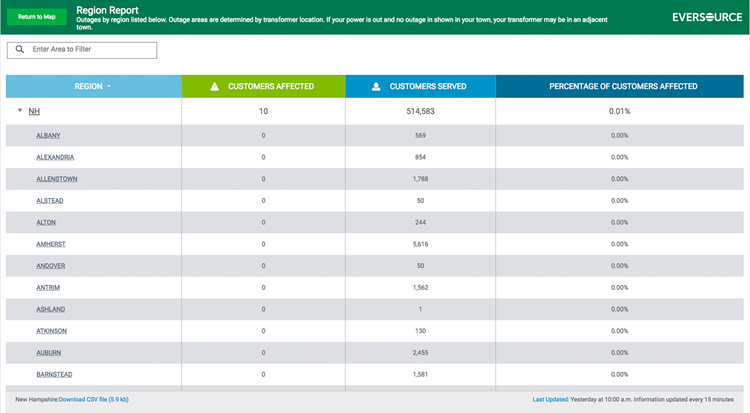
View regional outage information by selecting a service territory in the Customer Outages section of the tool panel.
Map Tools
You can view outage data by location, region, or town. To change the map view, click or tap the "Map Tools" section of the tool panel and select the option you want from the dropdown list. View by Location displays icons for individual outage locations or for groups of outage locations. The map groups nearby outages together into "clusters" to reduce the cluttering at higher zoom levels. View by Area displays color-coded shading for the number of outages in each area.
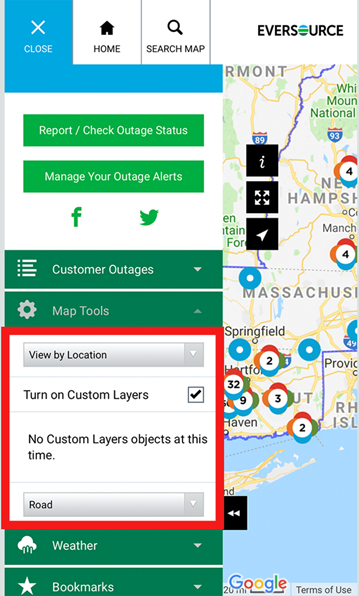
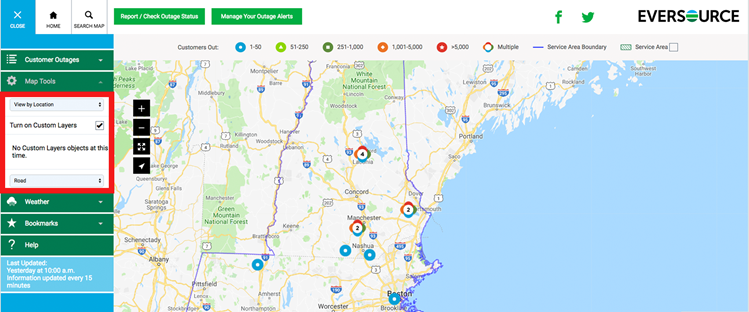
You can also change the map background between Road, Satellite, and Hybrid (satellite with road labels) views.
Weather
Click or tap the "Weather" section of the map tool panel to open settings for turning on or off a static weather radar image (Radar) or an animated weather radar image (Loop). You can also adjust the brightness of the weather radar image using the Opacity slider.
Saving Map Views
To save a map view centered on a specific address, click or tap the search icon (magnifying glass) at the top of the map and type in an address, click or tap the flag icon on the map, and then click or tap the Add to Bookmarks button in the info panel that opens to the right of the map.
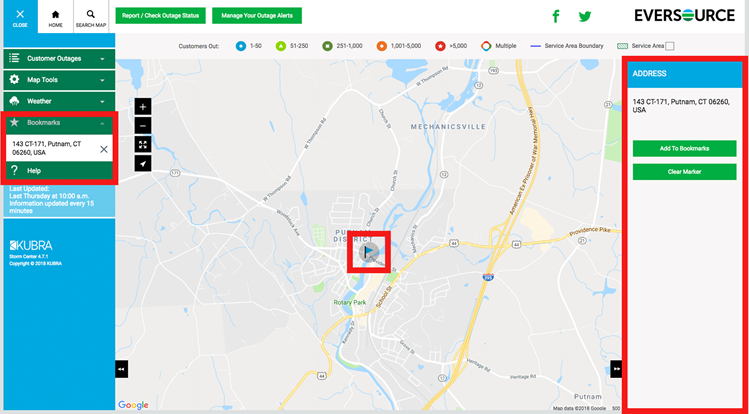
On mobile devices, the info panel opens from the bottom of the map. You can view saved bookmarks in the "Bookmarks" section of the map tool panel. Map view bookmarks are saved using local storage in your web browser.
Panning
To pan on the map, use the arrow keys on your keyboard OR click or tap a point on the map and, without releasing, drag the map in any direction.
Zooming
To zoom in or out, click or tap the corresponding button (plus sign or minus sign) in the upper left corner of the map OR rotate the wheel on your mouse OR pinch in or out.
For additional information, see Google Maps Help.